
Stiff joints flare up after 60? Skip the jumps and start with these four moves
Stiff joints after 60 usually don’t need more exposure; they need better coordination. As a movement specialist, I work with clients every day who think the answer lies in getting harder cardio, when their bodies are actually doing the opposite. Jumping jacks have their place, but if your sacrum isn’t moving properly, all that jumping is just a power shot. the joints which cannot absorb it. These four slow exercises Restore the small, controlled movements your body needs to properly handle force so you can move better without straining your joints.
Why Jumping Jacks is still not answered
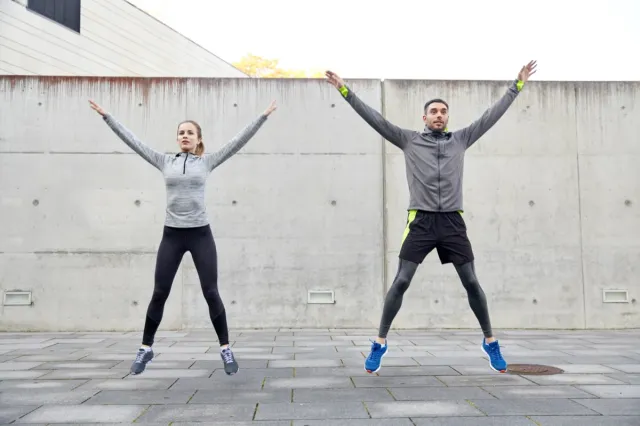
The question is, should you be jumping as part of your fitness routine? I said yes, but maybe not yet. Jumping jacks are great for general cardiovascular fitness, they’re a gentle introduction to plyometric work, and they strengthen your body in the frontal plane.
However, jumping jacks create a lot of impact and that force has to be distributed somewhere. Your joints are responsible for handling this force. So if you have poor proprioception, poor range of motion, or even poor coordination, you’re not distributing power; you are throwing it on the joints. And this is where the dysfunction begins.
Sacrum problems no one talks about
One of the most important structures for handling forces in your body is the sacrum. Your sacrum is a triangular bone and it sits at the base of your spine. It has four holes on each side where the nerves come out. These nerves supply your pelvic floor and lower limbs. So, the function of the sacrum is to distribute the force from the ground to the top and from the top to the bottom.
The sacrum is suspended in a network of ligaments. They attach to your pelvis and spine. When I talk about connecting to the pelvis, I’m specifically referring to your ilium. This is called your SI joint or sacroiliac joint.
The sacrum does not need a lot of movement. It requires small, subtle and controlled movement and we call these movements micro-movements. If you’ve been following me, you know that micro-movements determine macro-movements. These small movements together create large body movements.
Trampoline analogy
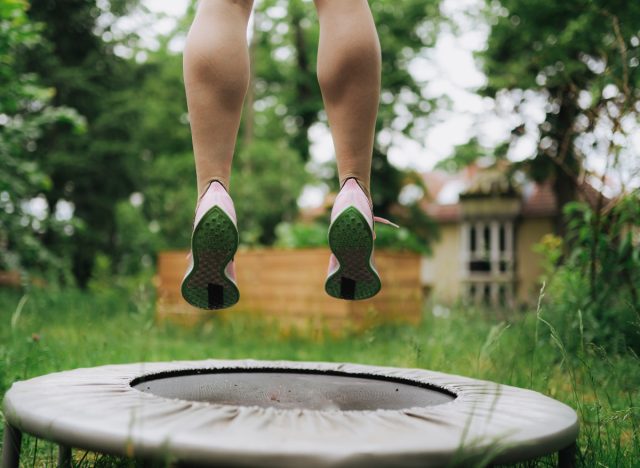
I like to think of the sacral area as a trampoline where the sacrum itself is the part you jump on. Ligaments that connect the sacrum to the pelvis and lower back, such as springs from the trampoline.
When it works well, it gives you stability, spring and efficient power transfer. But when the sacrum gets stuck, usually in a hip flexion or rotation, it stops moving as it should. Now, instead of distributing the force, it starts throwing the force to other areas of your body.
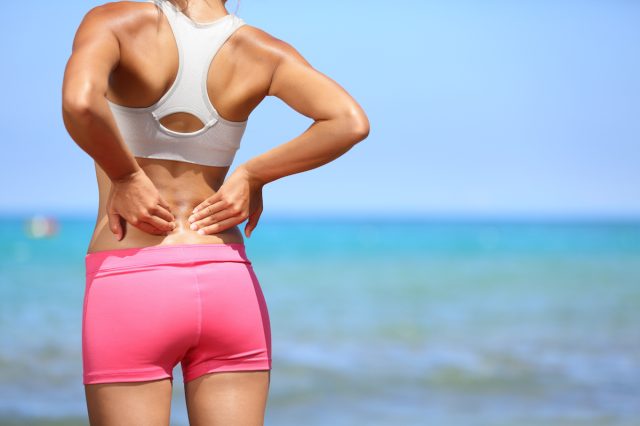
This is when you see pain around the sacrum, hip discomfort, back tightness, changes in gait, and sometimes even functional short legs. Over time, this leads to fractured joints, strained ligaments and tendons, and increased stress on the spinal column.
How your stress system works
This is where people tend to miss it. The sacrum does not work in isolation. It is part of the pressure system. You have your diaphragm above and your pelvic floor below. What lies between these two main forces is the sacrum.
These structures work together to manage stress in the body. There are ligamentous and fascial connections that pass through it clavicle in front of the coccyx or coccygeal bone in the back. This ligament runs from the pubis all the way to the coccyx. These structures connect directly with your pelvic floor.
Remember that your pelvic floor is responsible for regulating pressure, bladder and bowel function, and supporting your reproductive organs. Therefore, it should contract and relax at appropriate times.
If your sacrum gets stuck, it creates torsion through that ligament and through those fascial connections. This rotation goes directly to your pelvic floor and now your pelvic floor cannot respond properly. At the same time, if your breathing is off, if your diaphragm is not moving well, you lose proper pressure control from top to bottom. Now you disrupt the dysfunction from above and below. All of it meets directly in the sacrum.
Now take that system and add the jump jacks. Repetitive, high impact, no control. This force goes straight through a system that doesn’t already handle pressure well. It’s like jumping on an uneven trampoline. If one side is too loose, you won’t get any return. If one side is too tight, you start to stress the springs. In your body, those springs are ligaments. So instead of improving movement, you increase stress, tension, and compensation.
Instead of starting with influence, what do I do with my clients? I remind them that the goal is not tension. It restores proprioception, restores joint space and pressure control. When your sacrum, diaphragm, and pelvic floor work together, your body can finally distribute force the way it was designed to. This allows you to move well without straining your joints.
Here are four of my favorite exercises to restore sacral function and improve your pelvic floor mobility and health.
First stage: Walking of arms and legs
This first step teaches you to start the movement from your sacrum and ilium rather than dragging your feet. You’ll learn to lift, not slide, which is the foundation of everything to come.
Muscles trained: Glutes, hip stabilizers, deep core, pelvic floor
How to do it:
- Place both hands and feet on the ground in a sitting position
- Lift the heel of your right leg and move forward
- Lift your left elbow and move it forward
- Do not drag or slide, lift from your side
- Use your hands for support while cleaning the space under the throat
- Continue moving side to side for five to 10 steps forward
- Reverse the direction and do the same, move backwards
Form tip: Focus on lifting the hip, not pushing off with the leg. Your hands are for support, not movement.
Step Two: Hand Tires
Lifting your hands off the floor removes a layer of support and forces your sacrum and pelvic floor to do more work. Going backwards will be harder than going forwards, and that’s normal.
Muscles trained: Hip flexors, glutes, deep core, pelvic floor
How to do it:
- Lift your hands off the floor and grab your shins
- Keep your legs almost in line, do not let them open
- Lift your chin and right leg, then step forward
- Lift the bottle and your left leg, then step forward
- Continue for five to 10 steps
- Repeat the backward movement
Form tip: If you feel a slight movement or slip, don’t worry about it. The goal is to gradually reduce this slippage as you build the control.
Third stage: Sacral walk without hands
Now you can move without the help of your hands. This is where you can really feel if you have mastered the first two steps.
Muscles trained: Glutes, hip stabilizers, deep core, pelvic floor, balance system
How to do it:
- Release your legs and release your arms
- Lift your right torso off the ground and move forward
- Lift your left leg off the ground and step forward
- Don’t twist and slide, lifting the hips with each movement
- When you have taken five to 10 steps forward, reverse the direction
Form tip: If you stretch yourself on the floor or your ankles, go back to step two until the movement is controlled.
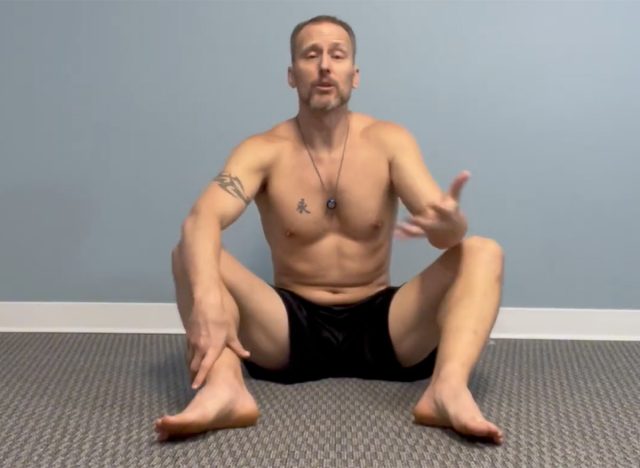
Step Four: Step on your sit bones
This is the most difficult of the four moves. You walk on your ilium, also known as your sit bones, without your feet on the floor. Going backwards here is much more difficult than going forwards and requires real balance.
Muscles trained: Deep core, pelvic floor, stabilizers, balance system
How to do it:
- Sit straight on the floor without arms and legs
- Lift one sitting bone and move forward
- Lift the other side of the bone and move forward
- Move so far back that it feels more off balance
- Master the first three steps before attempting these
Form tip: Do not rush to the fourth stage. The reverse side, in particular, requires the foundation you built in steps one through three.
Avoid these mistakes
- Do not slide or drag your feet. The whole point is to lift from the sacrum, not on the floor.
- Don’t miss previous stages. Step four seems simple, but it requires the controls built in steps one through three.
- Don’t rush backwards. Going backwards is always more difficult and requires more proprioception. Build on it.
- Do not let your legs open during the second phase. Keep them roughly in line so the work stays on the hips and sacrum.
- Don’t chase the tension. These are micro-movements. The goal is control, not effort.